VoiceOver on Mac
This guide is for developers, product managers, and auditors who don't work with assistive technology (AT) day to day. It walks you through VoiceOver, the screen reader built into every Mac, so you can confirm accessibility issues on your own pages.
Why this guide matters
Many accessibility issues can only be confirmed by using the page the way a screen reader user does. macOS ships with VoiceOver, so a Mac already has everything required. Ten minutes with VoiceOver is often enough to confirm or rule out an issue that automated testing flagged.
VoiceOver in a nutshell
VoiceOver reads the screen aloud and lets you operate the whole Mac from the keyboard. It doesn't read the pixels, it reads the accessibility tree, the structured version of the page that the browser exposes: element roles, accessible names, and states. This is why a button that looks fine on screen can still be announced as just a "button."
You control VoiceOver through three layers:
| Layer | What it controls | Sample keys (VO = Control+Option or Caps Lock) |
|---|---|---|
| Navigation cursor | Where VoiceOver "is" on the screen | VO+← / VO+→ - move to previous or next item |
| Interaction | Drill into groups like tables and lists | VO+Shift+↓ - start interacting, VO+Shift+↑ - stop |
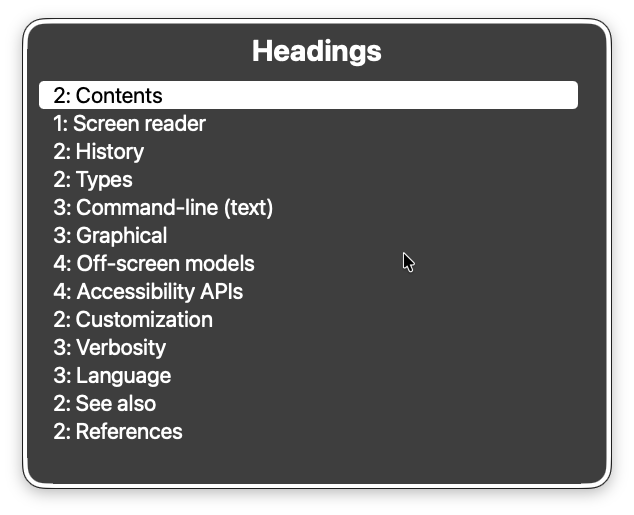
| Rotor | Lists of headings, links, and landmarks | VO+U - open the Rotor |
Before you start: staying in control
The first time VoiceOver starts talking, it can feel overwhelming. That's normal, and you're always two keys away from quiet:
-
Press Control to pause speech at any moment. Press it again to resume
-
Press ⌘**+F5** to turn VoiceOver off completely (on laptops with a Touch Bar or no function row, press fn**+⌘+F5**)
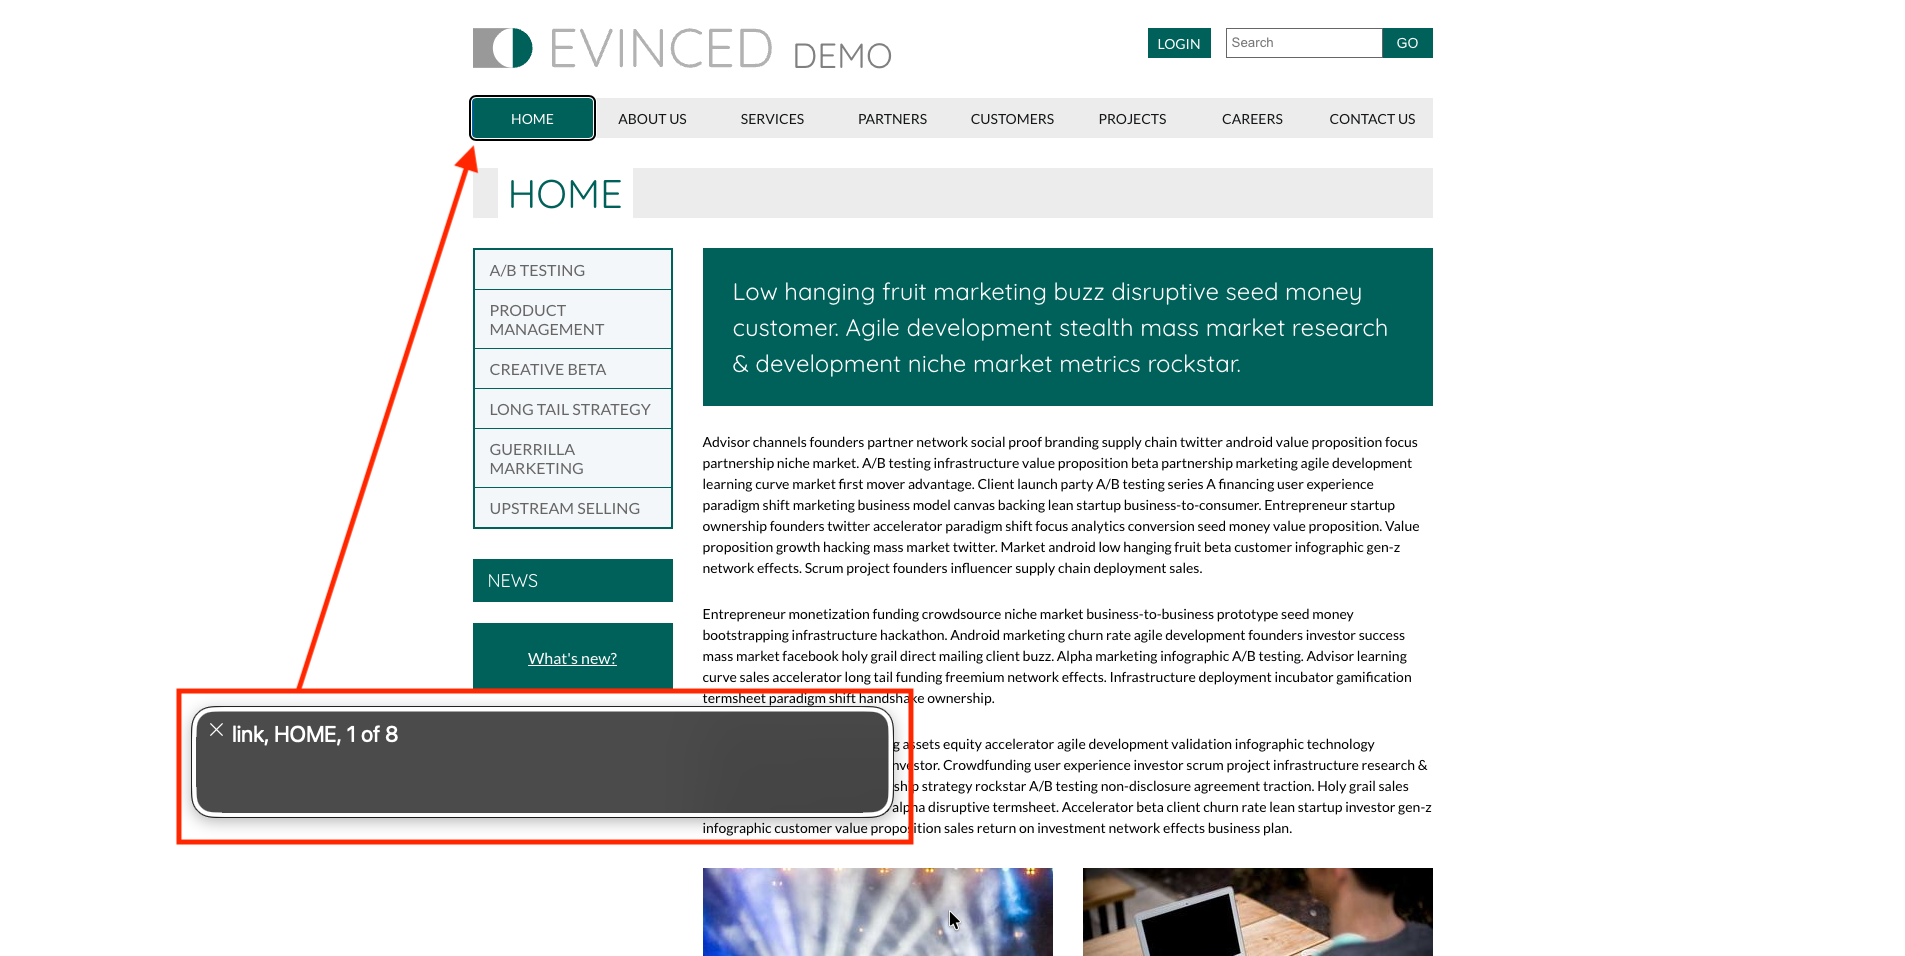
Note: VoiceOver also displays everything it speaks as text in the caption panel at the bottom of the screen. As a sighted tester, keep it open; it lets you read the announcements instead of relying on audio alone.
Setup and first-run checklist
-
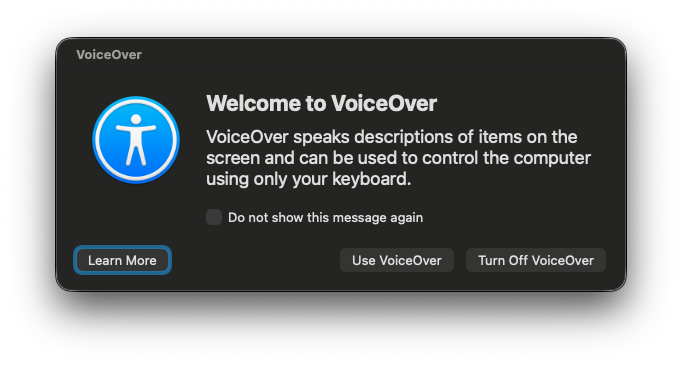
Turn on VoiceOver – Press ⌘+F5 (or triple-press Touch ID). A welcome dialog appears:
-
Return starts VoiceOver
-
Space opens the interactive tutorial
-
V skips this dialog next time
-
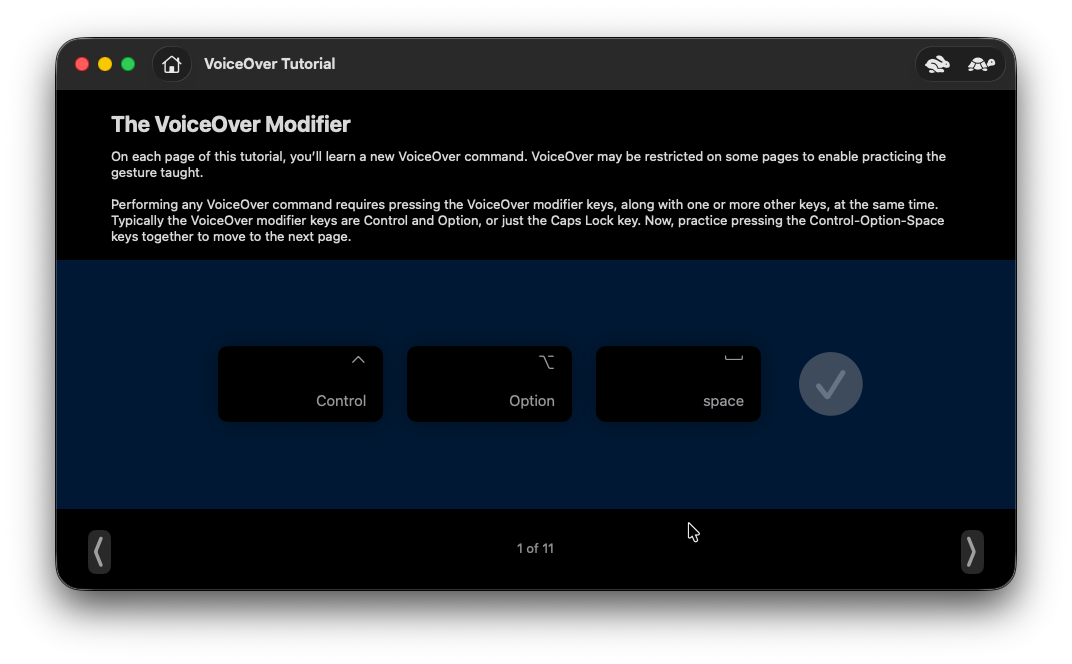
- Run the tutorial – It teaches the modifier keys and basic navigation in about ten minutes. We recommend it for every first-time user.
- Test in Safari – VoiceOver is developed and tested against Safari, so it exposes the most reliable accessibility information there. If a result in another browser seems off, verify it in Safari before reporting.
Note: You can add a VoiceOver control to the macOS Control Center for faster switching (System Settings › Control Center).
Core concepts
The VO modifier
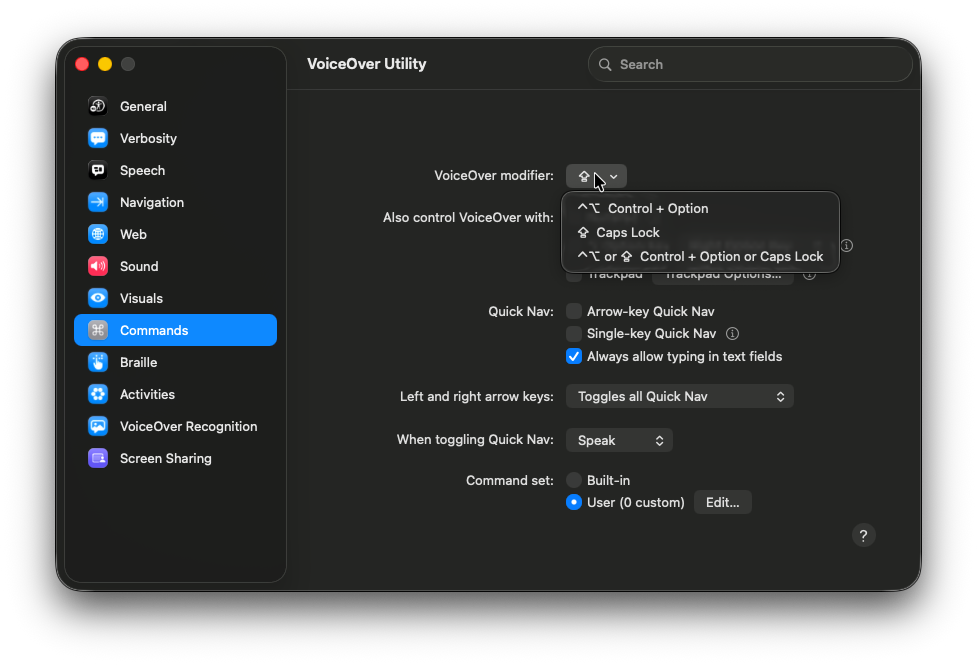
Most VoiceOver commands start with the VO keys: Control+Option or Caps Lock. In VoiceOver Utility › Commands you can:
-
Lock the modifier so you don't hold it down
-
Choose Caps Lock as the modifier, which is easier on laptops
Navigation vs. interaction
Navigation and interaction are the two moves you'll use most:
-
Navigation (VO+← / VO+→) walks the accessibility tree item by item
-
Interaction (VO+Shift+↓) enters a container like a table, list, or landmark region so you can explore inside it; VO+Shift+↑ takes you back out
For example: navigate to a <nav> landmark, start interacting to reach its list items, then stop interacting to jump out.
The Rotor
The Rotor is a set of lists: headings, links, landmarks, form controls, that you can jump from directly. Press VO**+U**, use ← / → to switch lists, then ↓ and Return to jump to an item. You can choose which lists appear in VoiceOver Utility › Web › Web Rotor.
Quick Nav
Quick Nav lets you navigate without holding the VO keys. Press ← and → together to turn it on. With single-key webpage navigation turned on (VoiceOver Utility › Commands › Quick Nav), single letters jump between elements: H for the next heading, L for the next link. This is often the easiest way for beginners to move through a page.
Your first walkthroughs
How to read the tables
VO means the modifier keys (Control+Option or Caps Lock). The announcement column is abridged the exact wording varies by macOS version.
"Hello World" Safari test
| Step | Command | Announcement (abridged) |
|---|---|---|
| Turn on VoiceOver | ⌘+F5 | "VoiceOver on" |
| Jump to the address bar | ⌘+L | "Address and search field" |
| Load the demo page | Type example.com, then Return | Page title, then "web content" |
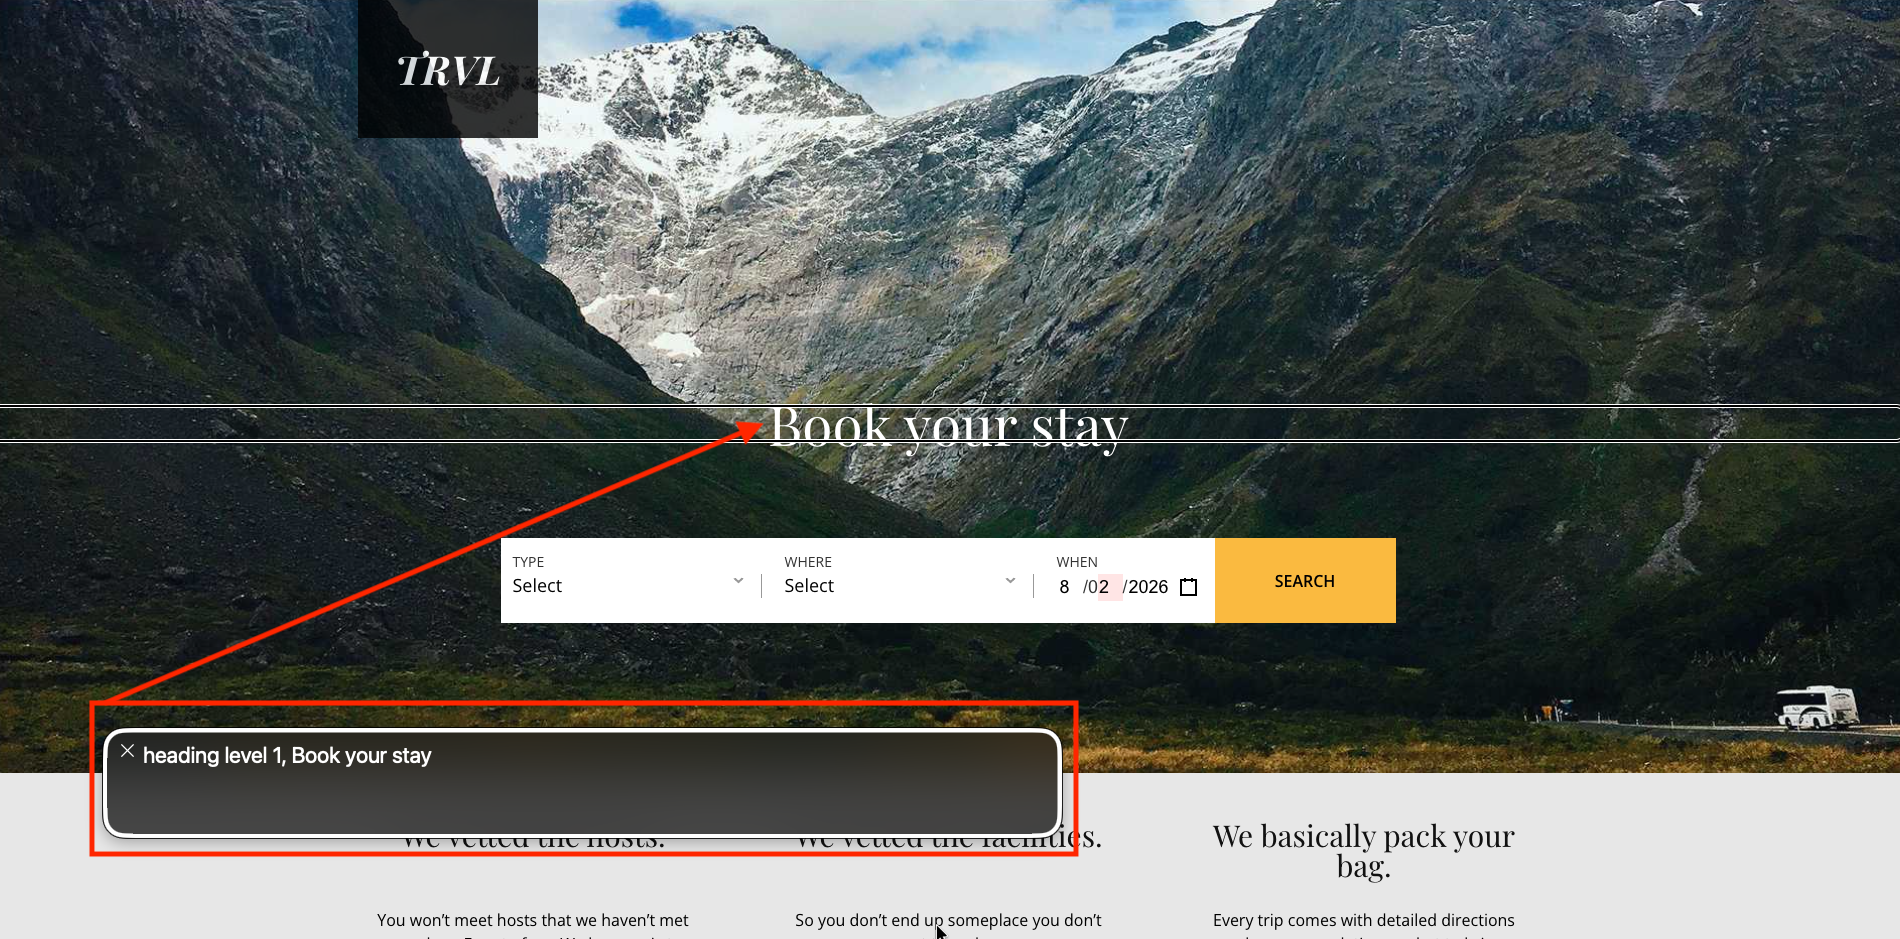
| Get a page summary | VO+Shift+I | "One heading, one link…" |
| Open the Rotor on Headings | VO+U, then ← / → to Headings | "Headings menu" |
| Jump to the heading | ↓ to select it, then Return | Reads the heading text |
| Turn off VoiceOver | ⌘+F5 | Speech stops |
Landmark audit of a production page
-
Load the site under test (local dev server or staging).
-
Press VO+U and switch to the Landmarks list with ← / →.
-
Press ↓ through the list and compare the order against the expected semantic structure.
-
Press Return on a landmark to jump to it, then VO+F3 to hear a description of where you landed.
-
Record any missing landmarks (like no
<main>) or duplicates (like two banner regions).
Settings worth changing
VoiceOver Utility (VO+F8) has many panes. These three matter most for testing:
| Pane | Why it matters | What to change |
|---|---|---|
| Commands | Holding Control+Option is tiring | Set the modifier to Caps Lock |
| Verbosity | Long announcements slow down testing runs | Set speech verbosity to Brief |
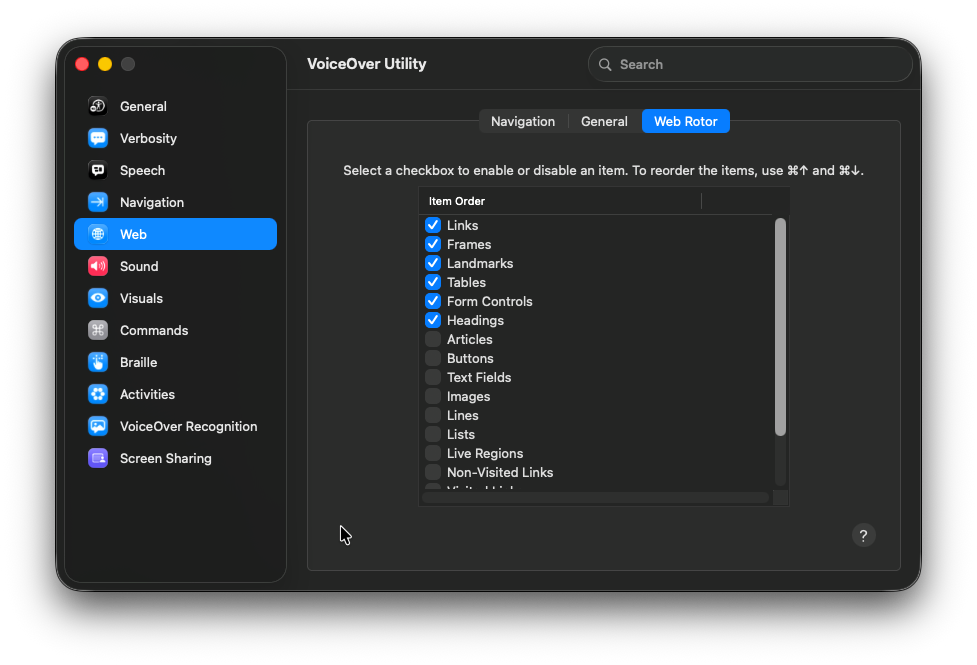
| Web › Web Rotor | Landmarks aren't listed by default everywhere | Turn on Landmarks and ARIA live regions |
Note: In Web › Navigation, "DOM order" makes VoiceOver walk the page in code order, which matches what you're testing. Group order can hide sequencing issues.
Cheat sheet
Everyday keys
| Task | Keys |
|---|---|
| Start or stop VoiceOver | ⌘+F5 |
| Pause or resume speech | Control |
| Move to next or previous item | VO+→ / VO+← |
| Start or stop interacting | VO+Shift+↓ / VO+Shift+↑ |
| Open the Rotor | VO+U |
| Next heading | VO+⌘+H |
| Next link | VO+⌘+L |
| Read from the current position | VO+A |
| Page summary | VO+Shift+I |
Web testing checklist
| Scenario | Expected outcome |
|---|---|
| Tab order | Tab cycles through focusable elements, and VoiceOver announces each one in DOM order |
| ARIA live regions | Trigger a toast or status message — VoiceOver reads it without moving your position |
| Form fields | Moving to a field with Tab announces its accessible name, role, and any hint text |
Troubleshooting and team tips
-
Nothing found in the Rotor? Confirm the element exposes the right role (
role="heading", a real<h1>–<h6>, and so on) -
VoiceOver reads a file name instead of alt text? Check that meaningful images have a real alt value and aren't left with
alt="" -
Custom elements silent or unnamed? Add explicit ARIA roles and
aria-labelledbyrelationships; VoiceOver depends on them -
Keep announcements short a verbose live region is harder to use than none at all
Learn More
-
Change VoiceOver command settings: a deeper look at VoiceOver Utility
-
What's new in VoiceOver: Apple's release notes